Quick and Easy Dutch oven Bread
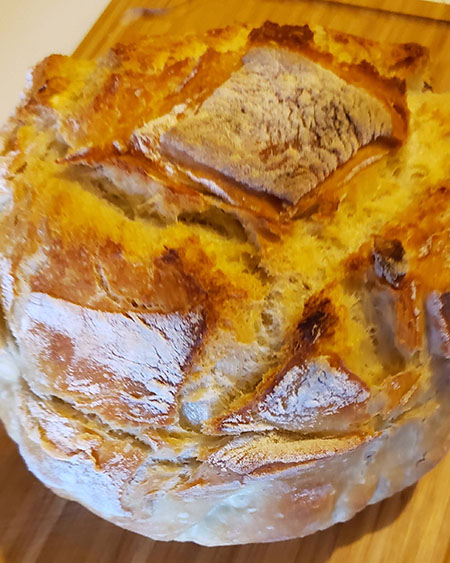
Dutch Oven Bread : Quick and Easy
When the first confinement (lockdown) happened a week after I arrived on French soil, I knew I’d be the one cooking most of the meals. With only being allowed out for essential purposes, like grocery shopping, I wanted to make the most of my time at home. That’s where Dutch oven bread entered my life.
So, why not bread? I was a from-scratch bread baker for more than 5 years experience and I have my degree in baking and pastry. Easy, right? I learned quickly (again) that it’s all about the recipe, being as precise as possible, and quality ingredients. If you have a scale, use it. Baking is not like cooking where you can add a pinch here and a smidge there. It’s chemistry in an artistic form.
I was in search of the perfect bread recipe that I could make on the regular and be consistent every time. I’m pretty good at trouble shooting when it comes to recipe flops. My 20 years experience in the hospitality industry has led me through many an experience. But bread… that’s finicky even if you have all the right tools.
You do not need a proofing box, but if you have access (or the budget) to one, go for it! In my tiny Paris kitchen, I used the heat that was emitted from the top of the sound system to proof this bread. It calls to proof the bread for 2 hours (or until doubled in size) in a warm area. Ideally, if you have a gas stove, it’s in there. But in tiny kitchens, it’s most likely an electric table-top toaster oven. One has to get creative.
{Dutch Oven Bread}
Yield : one round loaf
Prep time : 2 hours, 10 minutes
Cook time: 35 minutes
Ingredients :
- 3 cups all-purpose flour
- 1 1/2 cups filtered water (lukewarm)
- 2 teaspoons kosher salt
- 2 teaspoons active-dry yeast
You’ll want to start with a large mixing bowl, if you have one. I have been using the mixer bowl of my Kitchen Aid Stand Mixer because I don’t have mixing bowls (yet).
You’ll want to start by warming up gently your water. You’re looking for lukewarm bath water temperature, not above 115°F. Anything over that will kill the yeast. Add the water to the bowl and the yeast. Stir to mix together.
Mix the water + yeast and flour and salt together with clean hands. DO NOT BE ALARMED, your dough will be sticky. This is what you want. If you have some pan spray hanging out, you can spray your hands so the dough doesn’t stick. Using the same bowl you just mixed your dough in, place a tea towel over it and set it in a warm place to proof for about two hours.
Check your dough at about the 1 hour 30 minute mark. Your dough should have at least doubled in size and should smelly warm and yeasty. If everything is looking dandy, you’ll want to pre-heat your oven to 230°C/450°F with the dutch oven in the oven .
At this point you’ll want to generously sprinkle a clean work surface with flour. Next to it you’ll want to prepare a piece of parchment paper. You do not need to add flour or anything to it, just let it sit, patiently waiting. Once you have shaped your dough, you will be placing it on this piece of paper and then into the dutch oven.
You will bake your bread, covered, for 30 minutes. After the 30 minutes is up, you will want to uncover the dutch oven and cook another 10 to 12 minutes, until a lovely golden brown color. Take the bread out of the oven and let cool to room temperature on a cooling rack.
Store fully cooled bread in a bread bag or bin for up to 4 days. If you would like to get a little more life out of your loaf, you may store in a bag, in the fridge. I use this silicone reusable bag to store my bread in.
If you cannot resist the urge to bite into the warm, tantalizing bread, I highly recommend trying a slice with salted butter. You will not be disappointed.
Tips & Tricks
No Dutch Oven, No Problem
Do not despair, if you do not have a dutch oven, no problem! If you do not have a dutch oven, a metal stock pot will do. If your stock pot does not have a lid, you can simply use foil.
I am obsessed with my round dutch oven from Le Creuset. If you’re looking to invest in a worthy piece, this is it my friends. I’m actually saving for a second one slightly larger.
Flavor Variations
- Everything Seasoning : either sprinkle on top or add when you are scooping out onto your work surface. You do not want to add to the dough when you are mixing at the beginning. There is salt in the mixture and this will cause your bread to be off-kilter. You can find my recipe here to make your own seasoning.
- Roasted Garlic : Can add at the first mixing stage, when you are mixing all the ingredients together. I recommend slicing up the garlic cloves so no one is surprised by large chunks. I would not object to that, but some may.
- Scallion & Cheddar : You can add these to the first stage when you’re mixing all the ingredients together. This helps evenly distribute the flavors throughout the dough.
- Rosemary & Caramelized Onion : Again, add during the first stage where mixing all the ingredients together. This helps evenly distribute the flavors throughout the dough.
Favorite Ingredients
Here are some ingredients I love to use when baking bread.
- King Arthur All-Purpose Flour: King Arthur is my go-to brand when it comes to baking. I love their entire line of flours. You cannot go wrong with the quality and outcome.
- SAF Instant Yeast: This yeast is easy to use on consistent every time. I recommend if you are not doing a lot of baking (i.e. more than once a week) that requires yeast, keep it in the door of your fridge and take it out several hours before using.
- Morton Kosher Salt : There is a debate between Diamond and Morton. I think it all depends on your personal preference. I’ve always used Morton and have been happy with the result. I do use kosher salt for any recipe because I love the flavor.
For My French Amies
Having started baking and cooking in France since the first lockdown, I’ve had to adapt and discover certain ingredients. This has all been trial and error and there is still a lot of trial going on.
- Instead of kosher salt, I have found fleur de sel, particularly Guérande. The flavor is robust yet subtle and I get the same results. You can find this pretty much anywhere in any food store in Paris.
- Flour here in France is classified differently and reacts differently too. There are several places I look to for baking advice and one of the is The Fresh Loaf. They have an excellent breakdown here for the different types of flour in France and their equivalent to American flours. I have found that I prefer an even mixture of T-55 and T-65 for my basic baking needs. If you are doing a recipe that requires a lighter flour, I recommend T-45.
- Yeast is something I had a hard time finding what I wanted. Especially during the first lockdown. Flour and yeast were extremely hard to come by. I finally found it (and not sure why I didn’t think to look here first) at G. Detou. This is one of those places where if you’re into home baking, you must absolutely shop here. They have all sorts of technical ingredients you may be looking for.


You May Also Like
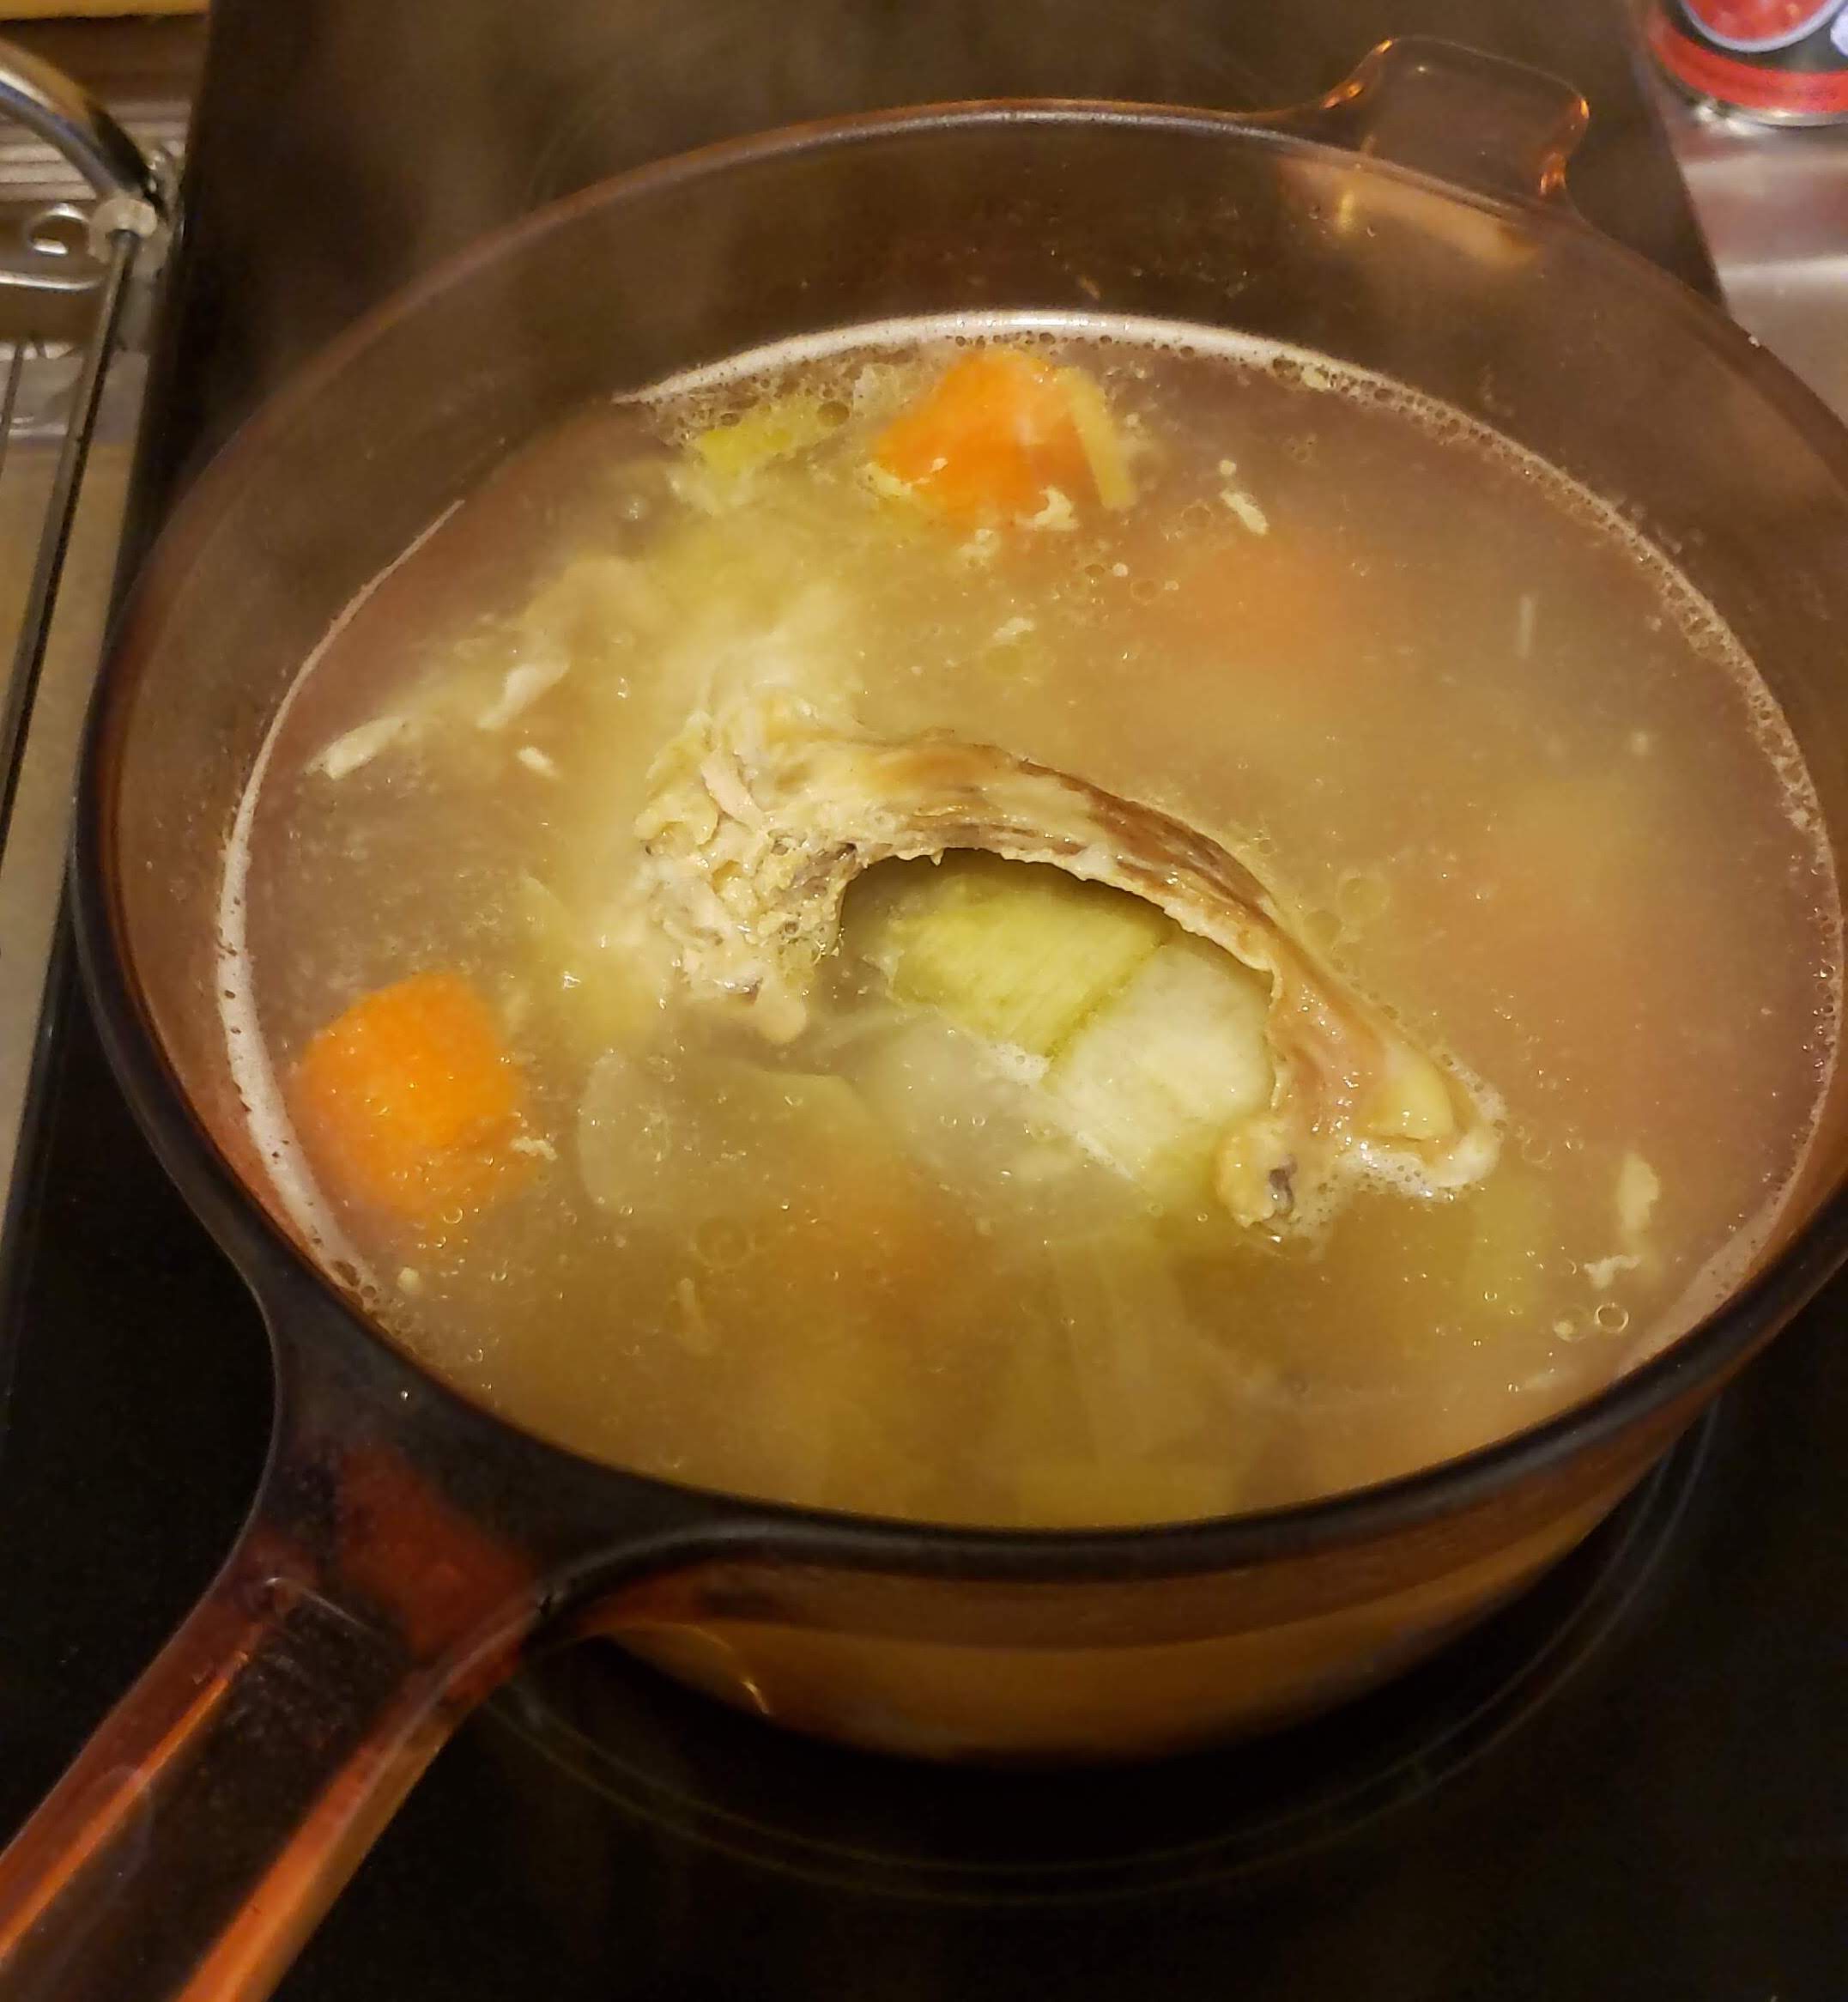
Chicken Brock
30 March 2020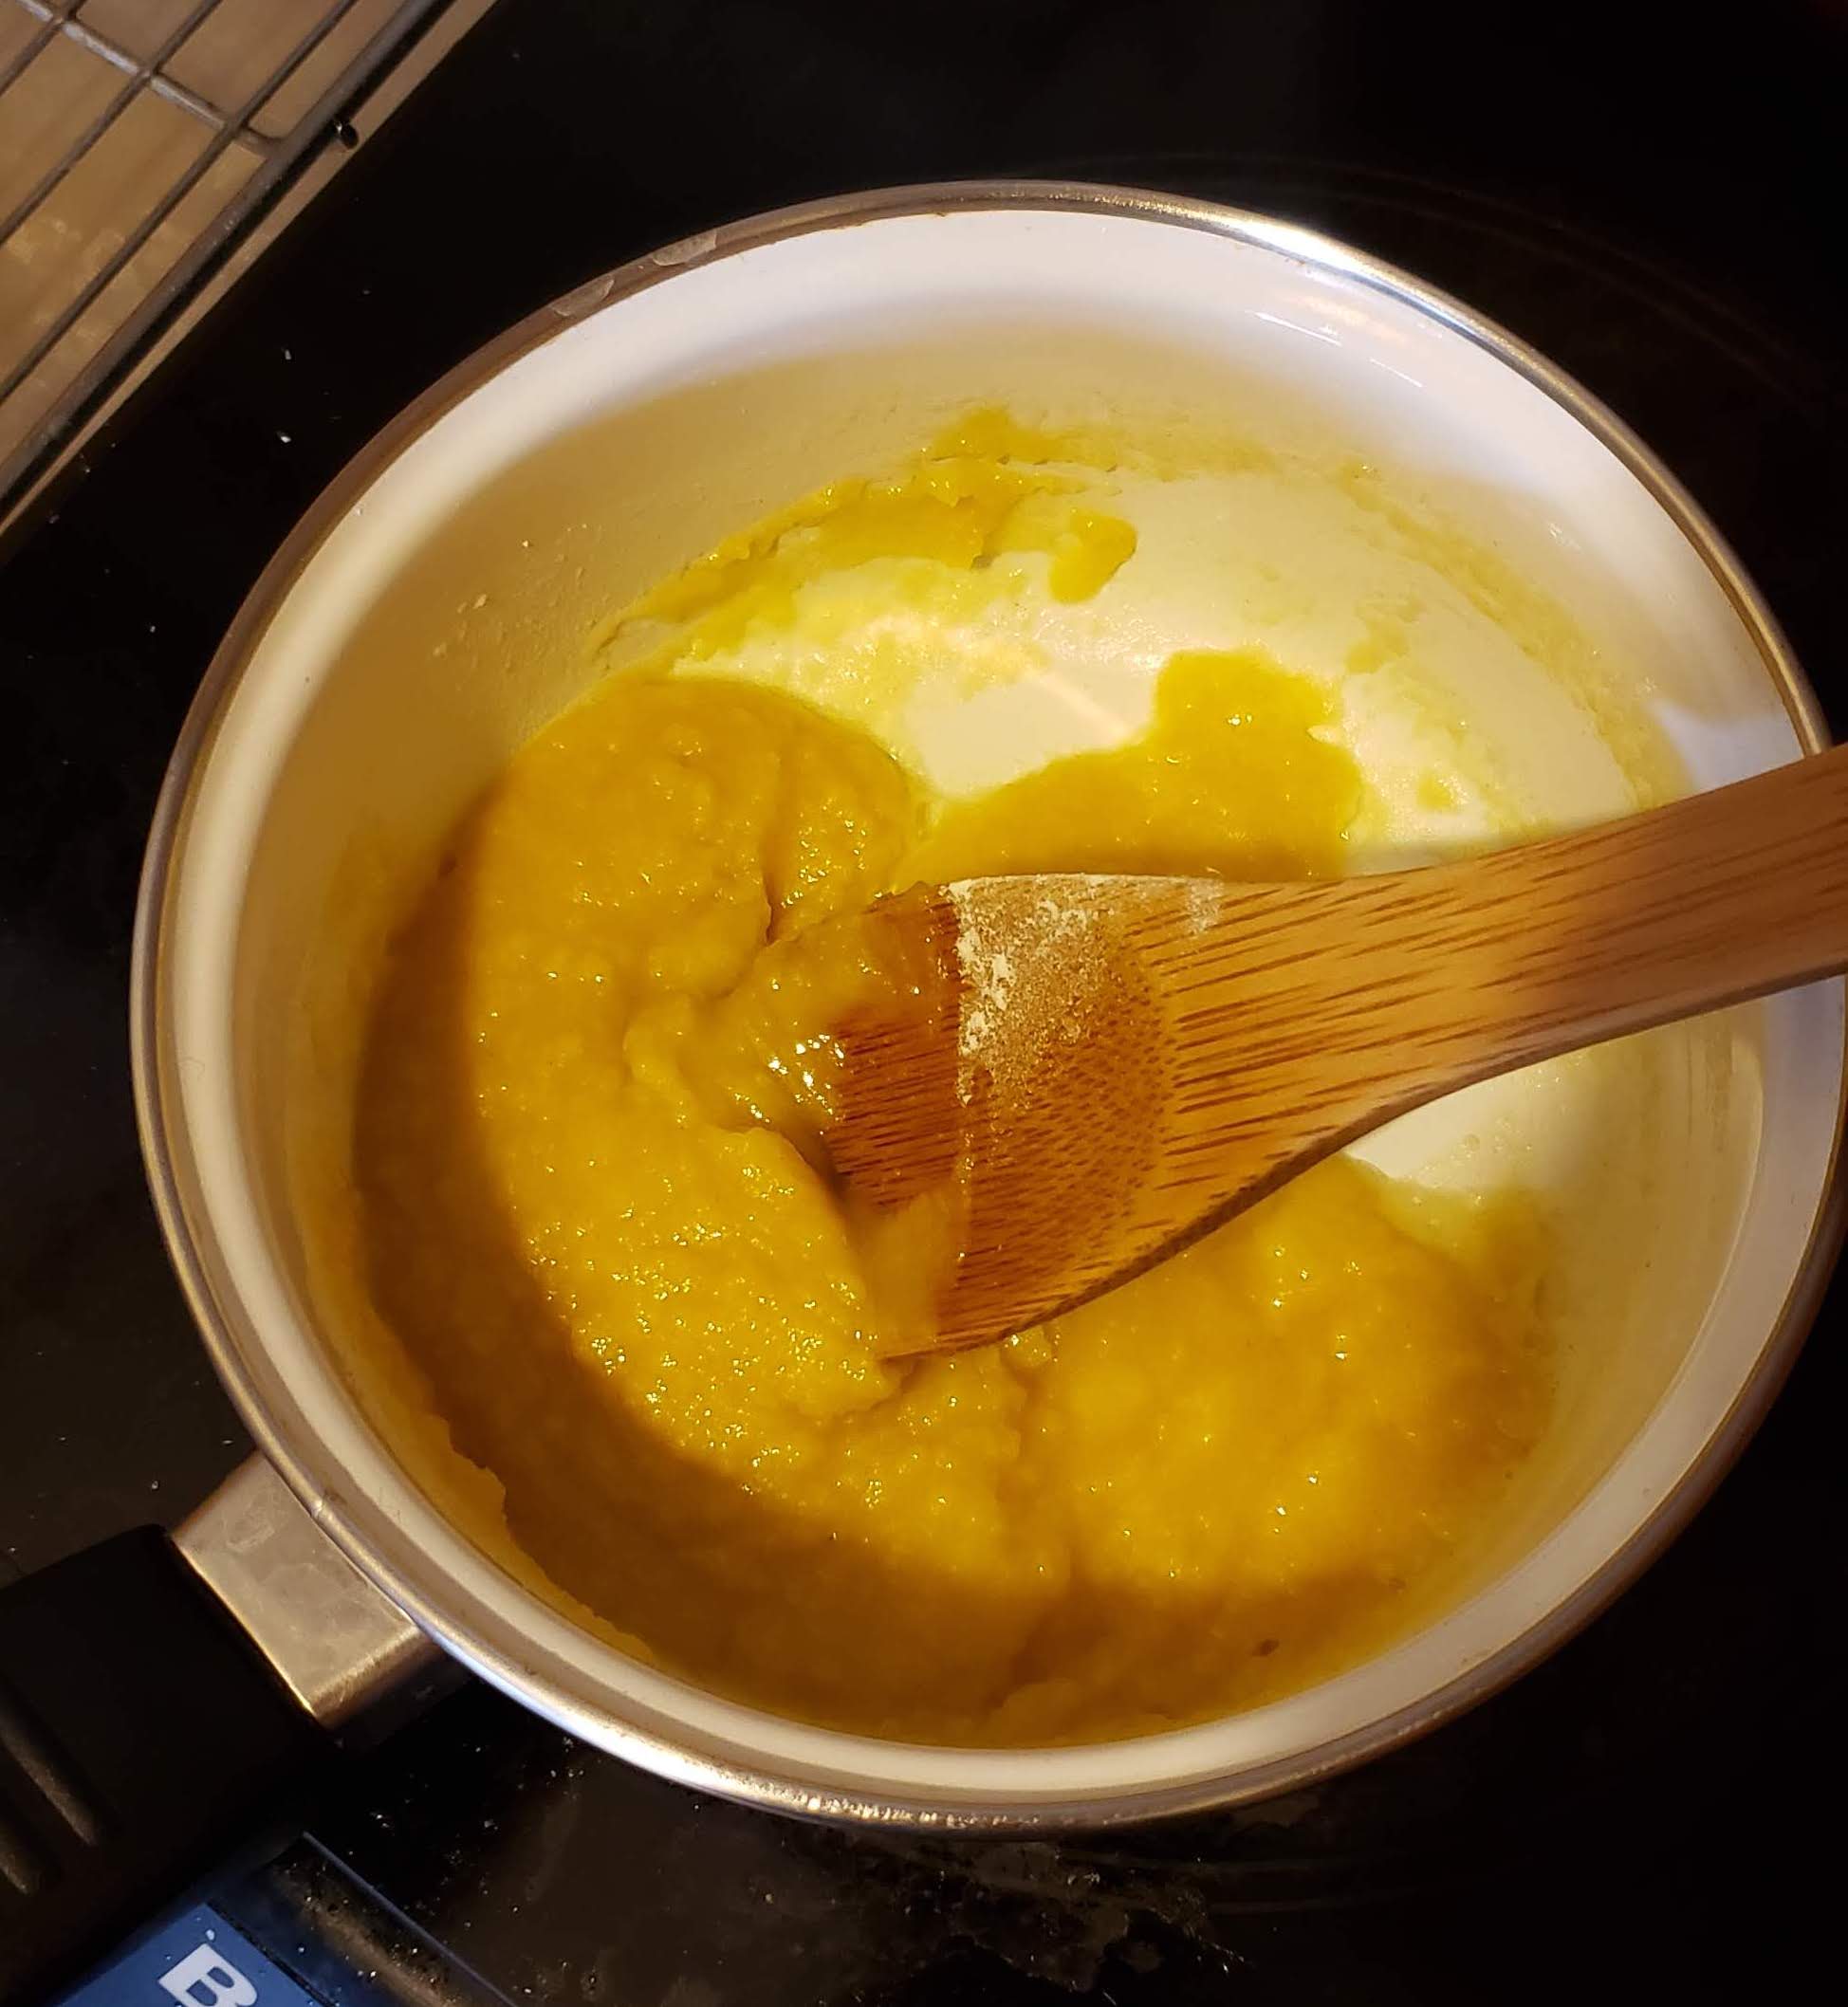
Condensed Cream Soup
15 April 2020