When you read bone broth, do you automatically think of your great grandmother standing over a pot on the stove? Do you think of someone who’s very into the health food scene with their yoga pants and
Bone broth is something my mother started doing more recently in the last 10 years or so. She’s always done chicken stock; something I consider a staple in my kitchen for everything. If you’re comfortable buying a whole chicken and breaking it down, you can check out my post here on my twist on chicken stock during lockdown N°1. I used it whenever cooking to replace water. Adds flavor, depth, and nutrients, what more could you want?
When we started going to the Sunday market in our quartier, I started testing with different bones. With some guidance from my Mum and Google, I have come up with a pretty good recipe that I’m going to share with you.
This is a labor of love. I do not have a crock-pot so I do mine in my dutch oven on my stove top for almost 50 hours. I have to plan accordingly , since my space and equipment is limited. But the rewards will be well worth it in the end.
So without further ado…
{50 Hour Bone Broth}
Ingredients :
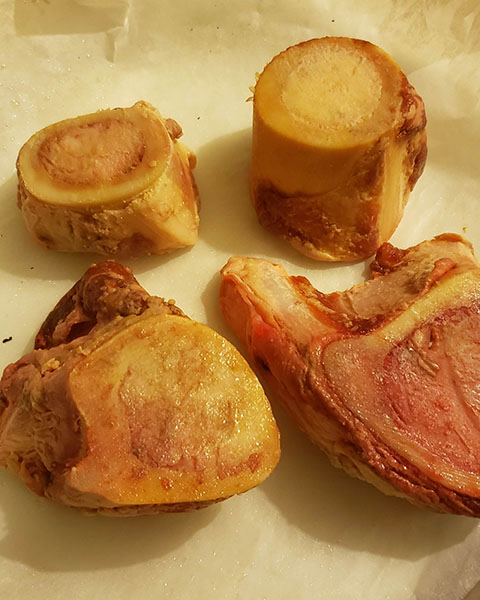
4 round cut sections of beef bones.
2 tablespoons apple cider vinegar.
2 liters (7 cups) water.
I figure 2 bones + 1 tablespoon ACV + 1 litre water is a good ratio to get a nice golden bone broth.
Preheat your oven to 425°F/ 218°C. Put parchment paper down in your pan and place the bones in a pan that you like roasting food in. I have a lovely springform pan that I use for almost everything. So easy to clean. Roast for 30 minutes.
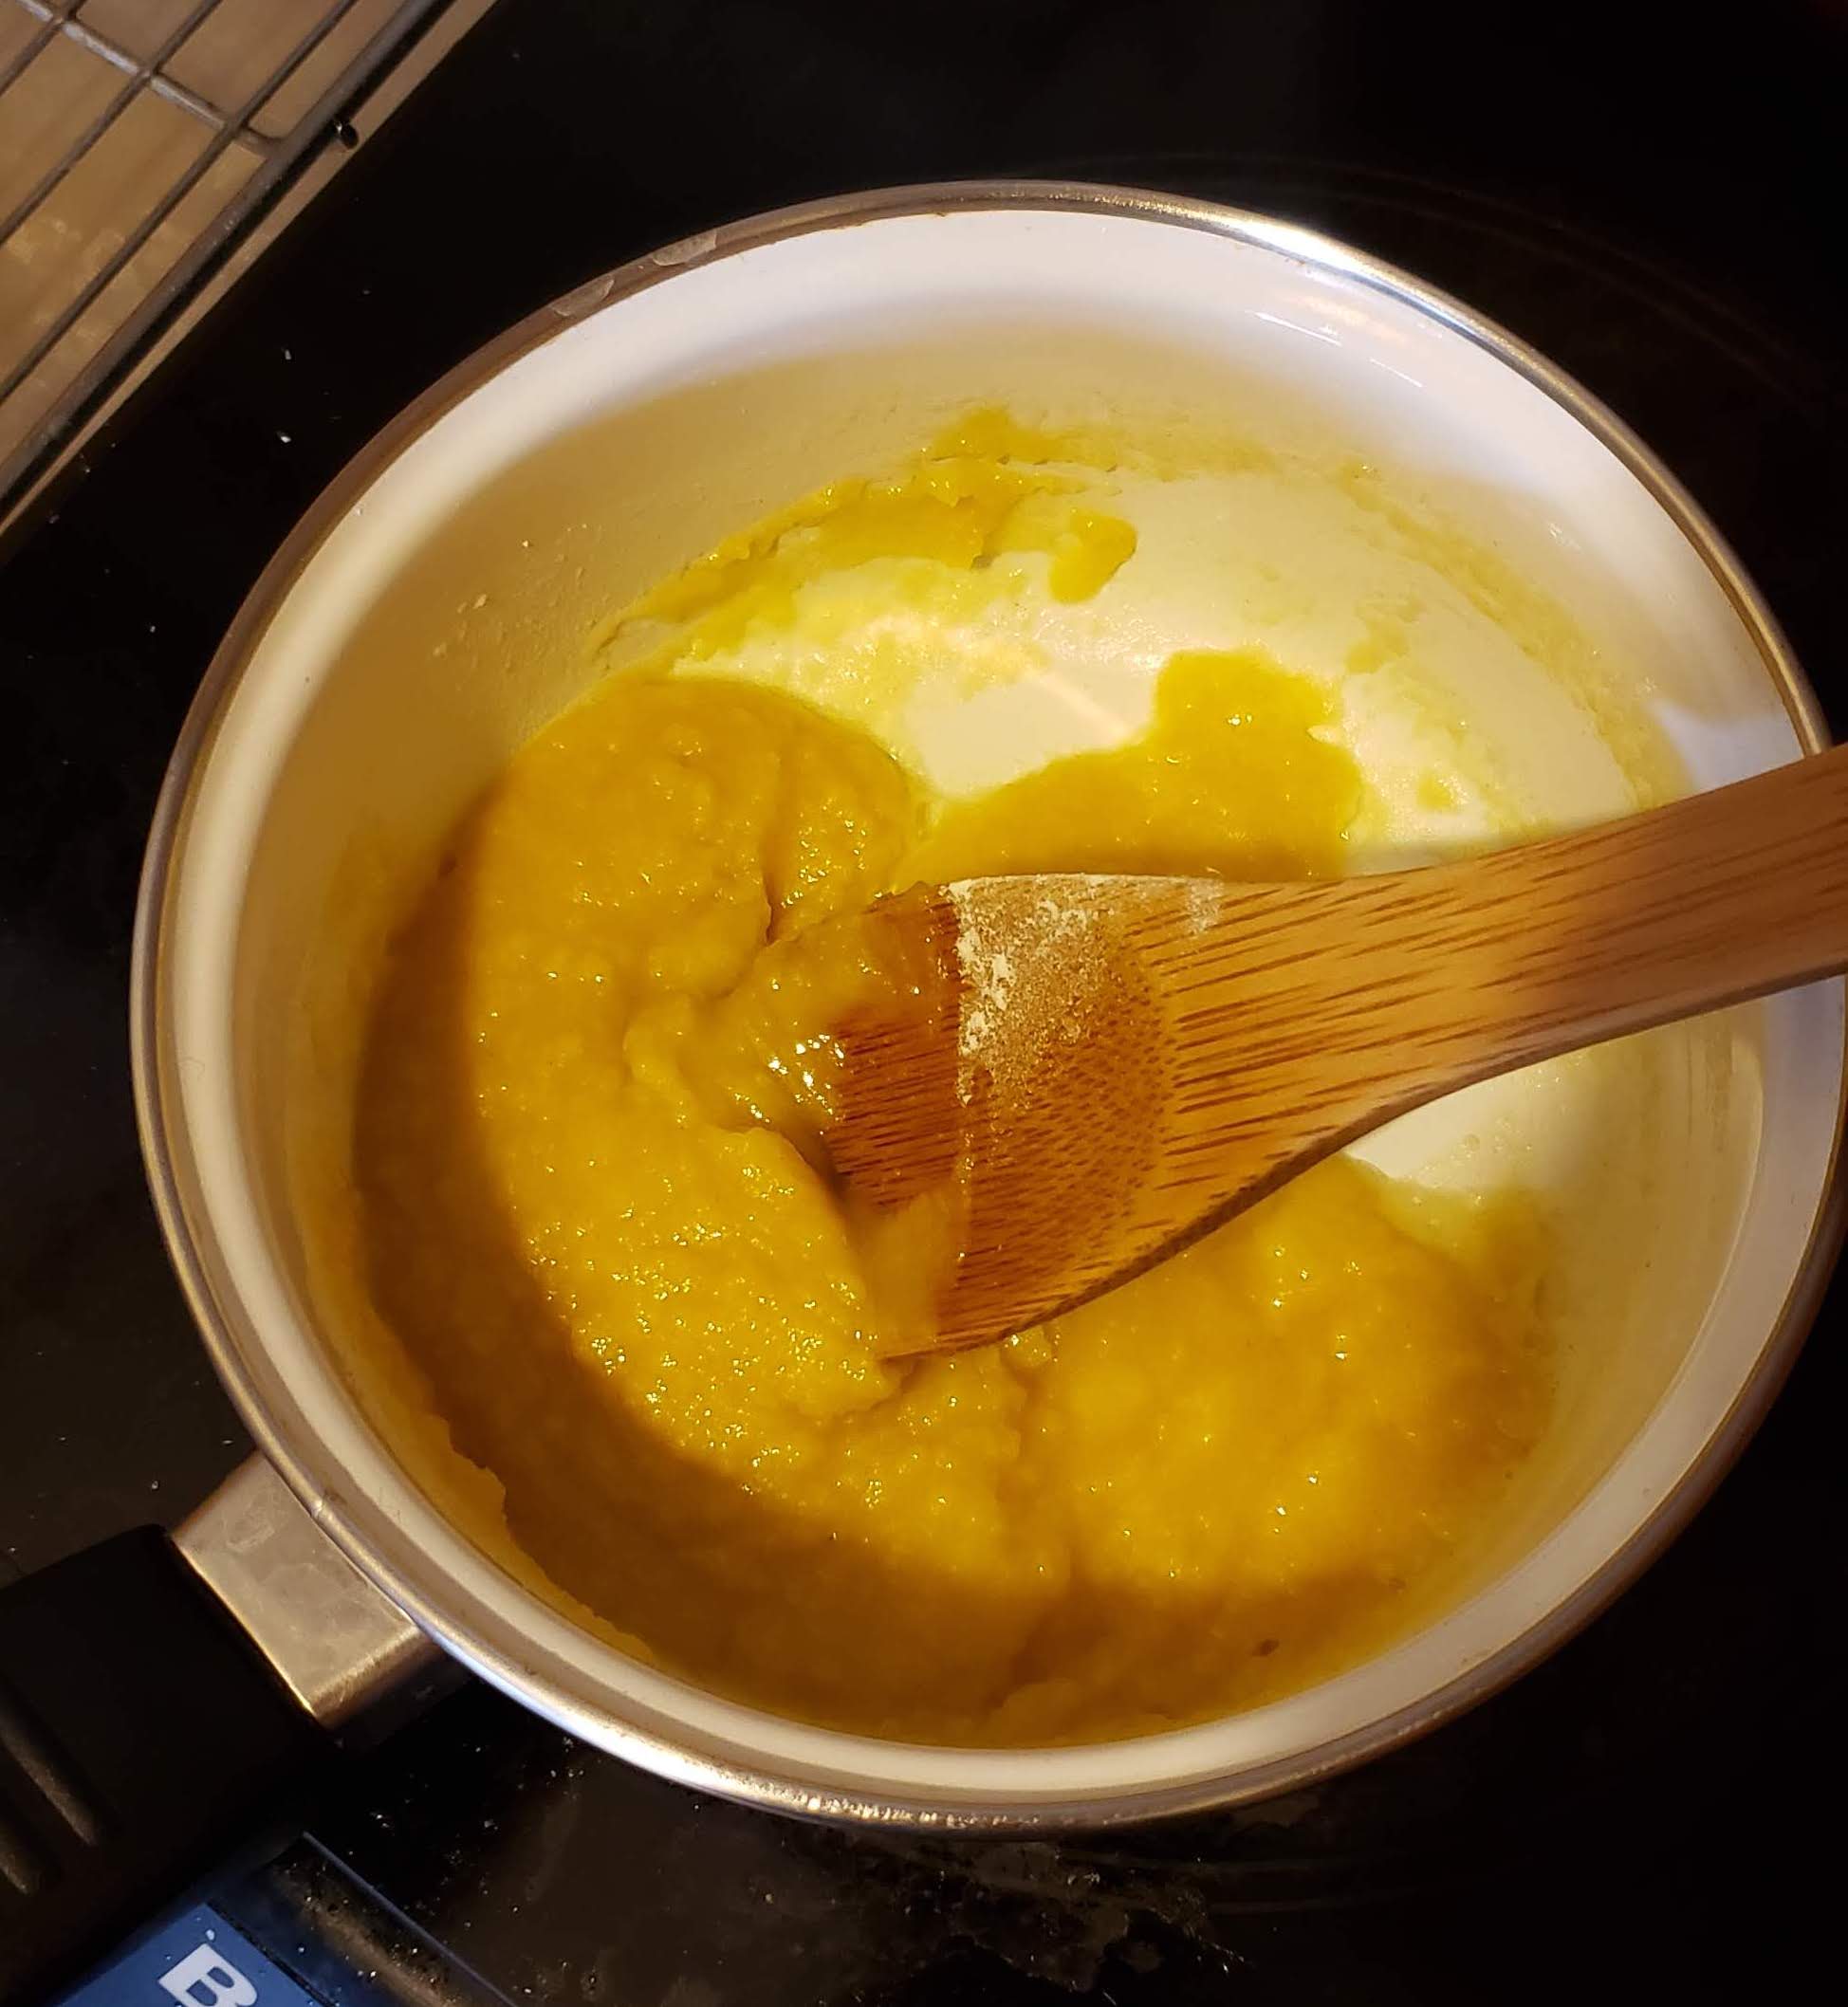
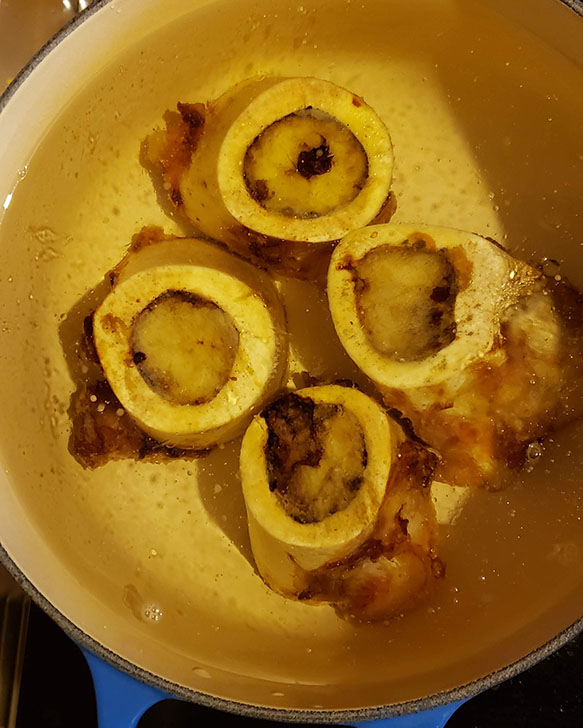
Place the roasted bones into your dutch oven and add 2 tablespoons of apple cider vinegar and cover the bones and then some with water.
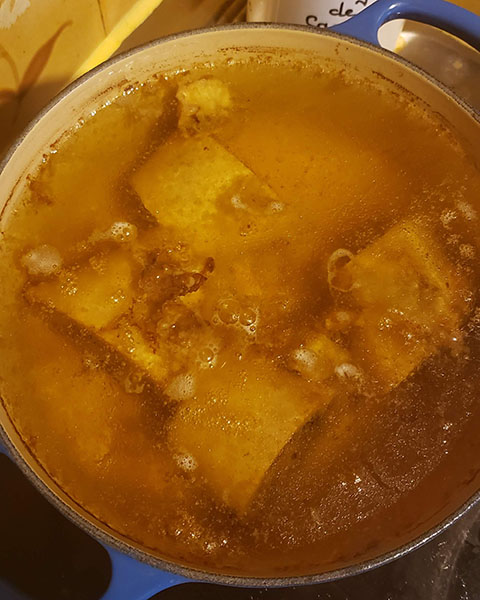
Turn heat onto medium-high to bring to a simmer. Once the water has started to boil, bring to a very low simmer. You still want bubbles to be coming up to the top, you want a little movement while cooking low and slow. Put the lid on and let that baby simmer for the next 48 to 50 hours.
Check every once in a while. If you want to top off the broth with water, you’re more than welcome to. You’ll only loose a little bit throughout the next 48 hours.
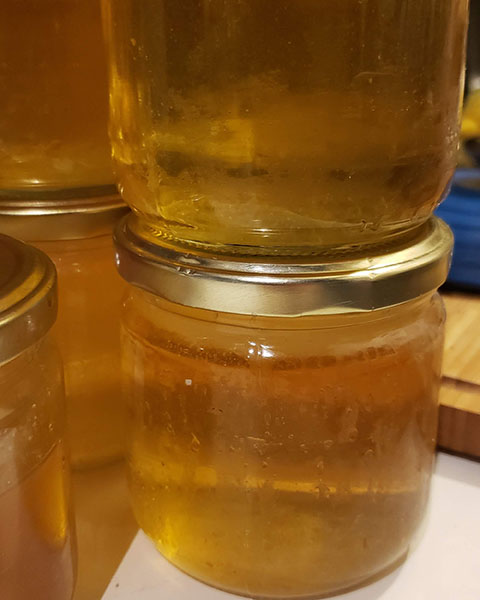
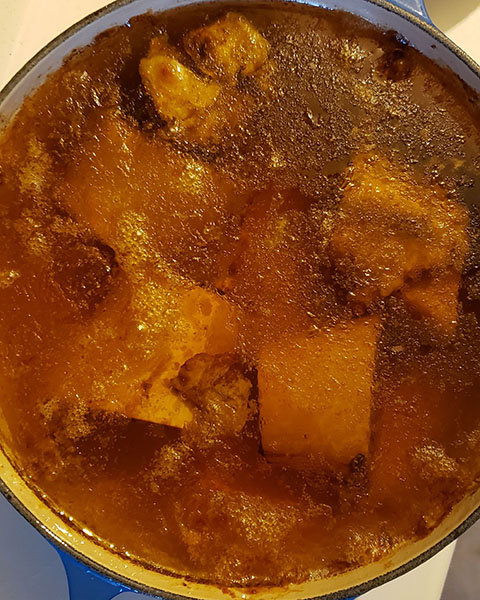
When you’re satisfied with your broth, turn off the heat the place a strainer over a bowl and place the bones into the strainer so they can drain out all the broth. You’ll want to skim the fat that has collected at the top of the broth as much as you can. When that’s all done, strain your broth into smaller containers (I recycle small glass jars that fit a little more than one cup perfectly) and allow to cool to room temperature before placing their lid on and into the fridge.
The broth is good for about 7 or 9 days, but if you use it as much as I do, you won’t have to worry about it going bad because it’ll be gone.
We use cookies on our website to give you the most relevant experience by remembering your preferences and repeat visits. By clicking “Accept”, you consent to the use of ALL the cookies.
This website uses cookies to improve your experience while you navigate through the website. Out of these, the cookies that are categorized as necessary are stored on your browser as they are essential for the working of basic functionalities of the website. We also use third-party cookies that help us analyze and understand how you use this website. These cookies will be stored in your browser only with your consent. You also have the option to opt-out of these cookies. But opting out of some of these cookies may affect your browsing experience.
Necessary cookies are absolutely essential for the website to function properly. This category only includes cookies that ensures basic functionalities and security features of the website. These cookies do not store any personal information.
Any cookies that may not be particularly necessary for the website to function and is used specifically to collect user personal data via analytics, ads, other embedded contents are termed as non-necessary cookies. It is mandatory to procure user consent prior to running these cookies on your website.
